How to Make Cornmeal from Heirloom Corn
There's a unique satisfaction in growing your own food, and it gets even more rewarding when you transform that harvest into something delicious. Growing heirloom corn varieties is a wonderful experience, and taking it a step further by grinding your own cornmeal offers a taste and connection to tradition that store-bought versions simply can't match. This guide will walk you through the process of turning your heirloom corn into flavorful, homemade cornmeal.
Understanding Heirloom Corn & Its Suitability
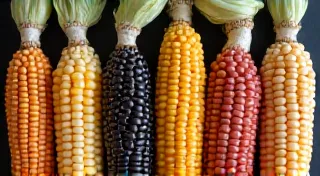
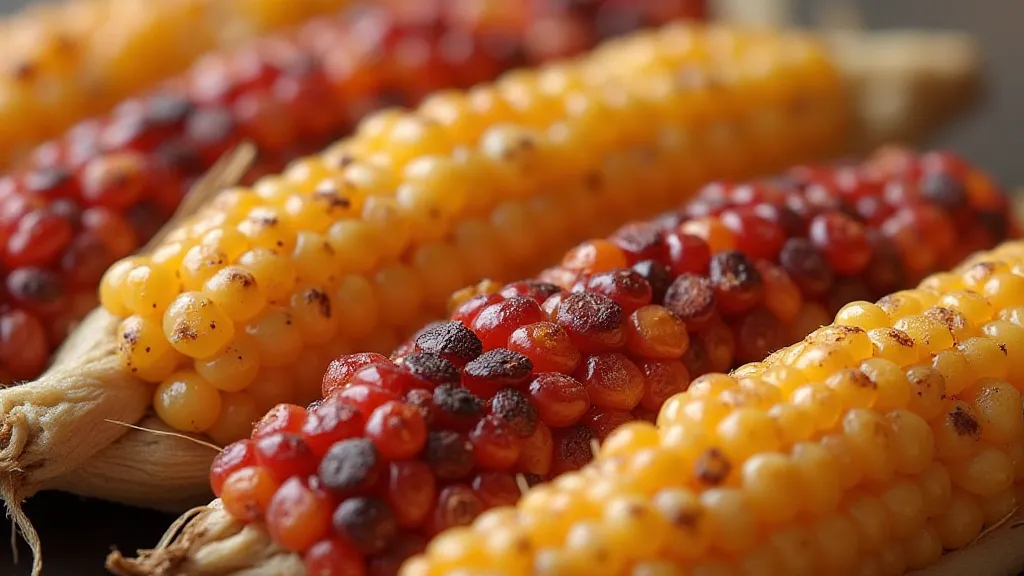
Not all corn is created equal, and the best types for cornmeal are flint corn varieties. Flint corn, also known as Indian corn, has a hard, glassy kernel and a higher starch content, making it ideal for grinding. Heirloom varieties like Hickory King, Bloody Butcher, and Gaspe Flint are popular choices. These varieties have been passed down through generations and offer unique flavors and colors. Avoid dent corn (like field corn) as it will produce a meal that is too soft and starchy.
Gathering Your Supplies
You’ll need a few key items to make your own cornmeal:
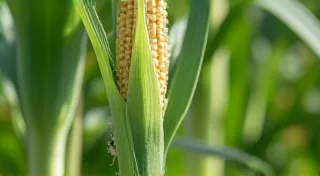
- Dried Heirloom Corn: Fully dried corn is crucial. Moisture will lead to mold and an unusable product. Proper drying usually takes several weeks.
- A Grain Mill: This is the heart of the operation. You can use a hand-cranked mill, electric stone mill, or even a high-powered blender (though a mill is highly recommended for consistent results).
- Containers: For storing both the dried corn and the finished cornmeal.
The Drying Process: Ensuring Success
If you’ve grown your own corn, proper drying is the first and most critical step. Corn needs to be dry enough to grind properly and prevent mold. Here's a breakdown:
- Hanging Method: Tie bundles of corn (husks intact) and hang them in a well-ventilated, dry area, protected from rain and direct sunlight.
- Dehydrator: If using a dehydrator, set it to a low temperature (around 130°F/54°C) and check the corn regularly.
- Timeframe: The drying process typically takes 4-8 weeks, depending on the climate and drying method. The kernels are dry enough when they feel hard and make a “clicking” sound when shaken.
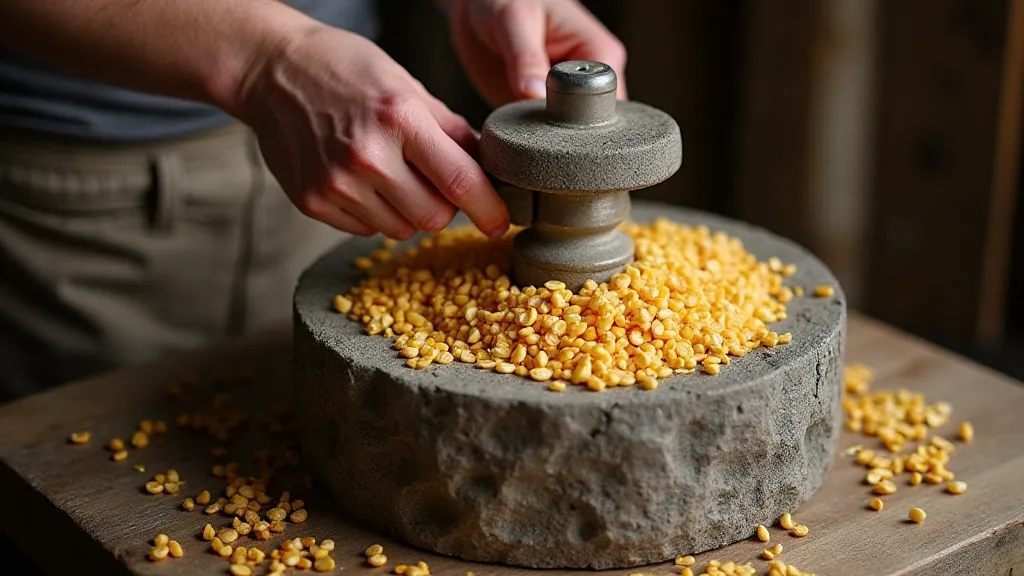
The Grinding Process
Once your corn is thoroughly dry, it's time to grind!
- Preparation: Remove the kernels from the cobs. This can be done by hand or with a specialized kernel remover.
- Grinding in Stages (For Stone Mills): Stone mills often work best in two stages. First, grind the corn coarsely. Then, grind it again to achieve the desired fineness.
- Electric Mills: Follow the manufacturer’s instructions for your specific mill.
- Blender (Use with Caution): If using a blender, work in small batches and pulse briefly. Be careful not to overheat the blender. This method is not ideal and may not produce a truly consistent cornmeal.
Sifting & Storage
After grinding, you can sift the cornmeal through a fine-mesh sieve to remove any larger particles. This is optional, but it creates a smoother texture. Store your homemade cornmeal in airtight containers in a cool, dark place. Properly stored cornmeal can last for several months.
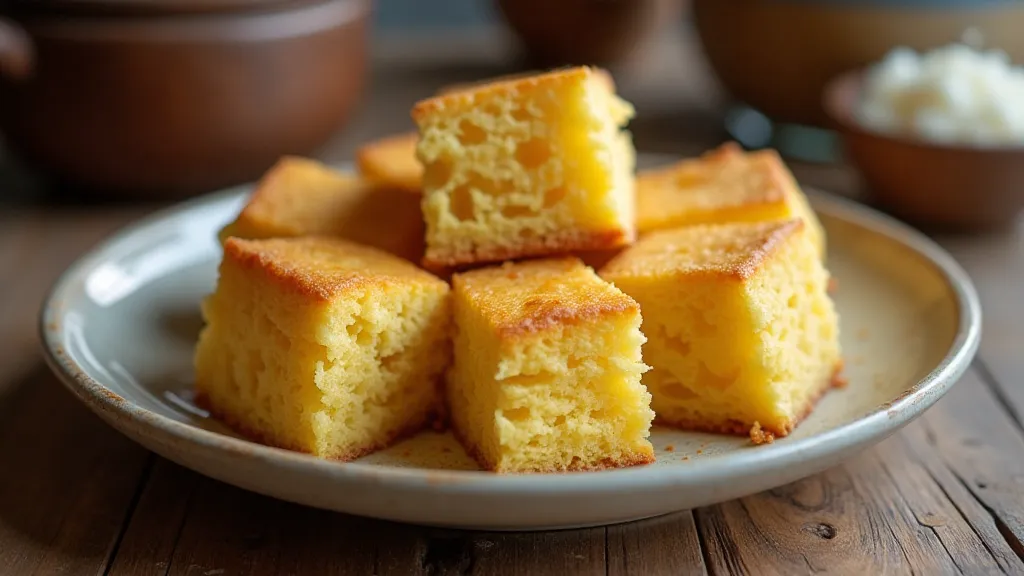
Enjoying Your Homemade Cornmeal
Now comes the best part: savoring the fruits (or kernels!) of your labor. Your homemade cornmeal can be used to make:
- Cornbread
- Mush
- Polenta
- Johnnycakes
- And much more!
Making your own cornmeal is a rewarding experience that connects you to a traditional food process. Enjoy the unique flavor and satisfaction of knowing exactly where your food comes from.